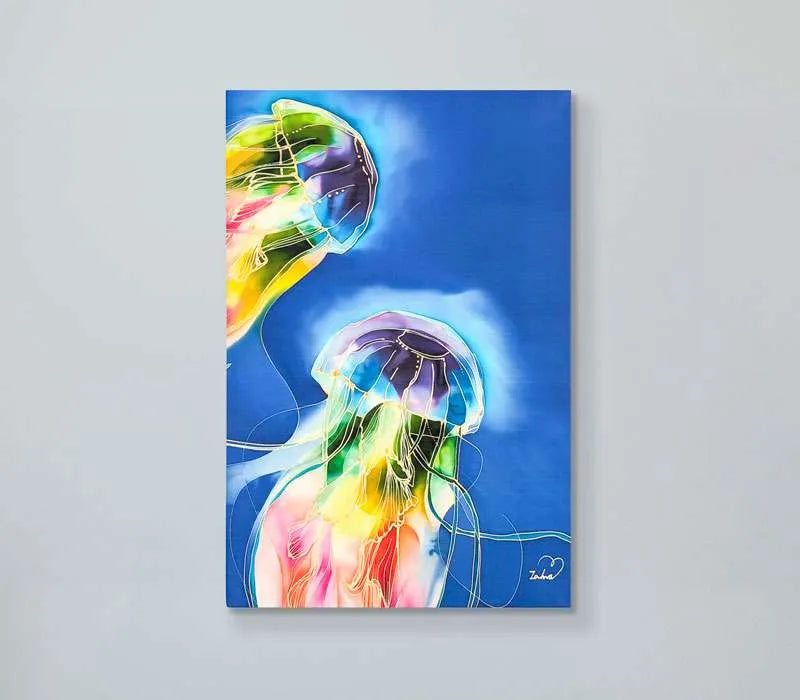
1 – Design Planning: In the intricate world of silk painting, the initial step is meticulous design planning. This stage involves conceptualizing your artistic vision, determining the layout, and outlining the key elements that will grace the silk canvas. Whether inspired by nature, abstract concepts, or personal experiences, a well-thought-out design sets the foundation for a captivating silk painting. Sketching out your design is a crucial aspect of this process, allowing you to translate your ideas onto paper and refine the intricate details before bringing them to life on silk.
2 – Gather Materials: Equipped with your creative blueprint, the next step is to gather the essential materials. High-quality silk, paintbrushes, silk dyes, and other necessary tools become the artist’s arsenal. This stage emphasizes the importance of selecting materials that complement your design and contribute to the overall success of the silk painting.
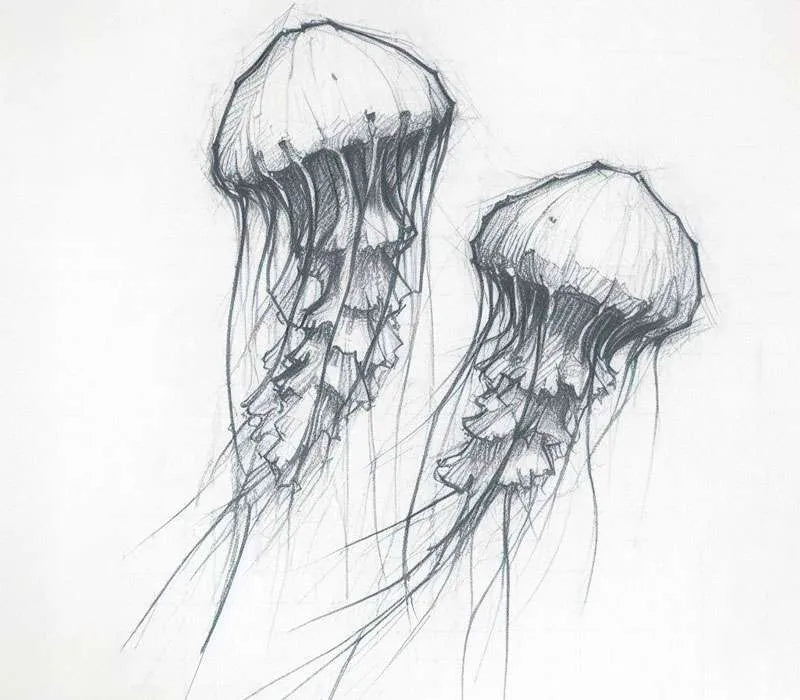
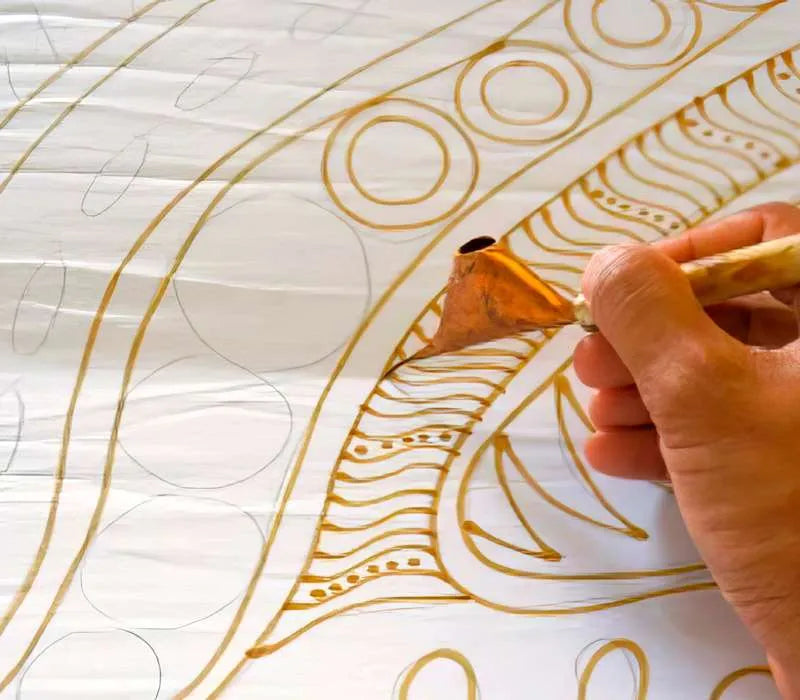
3 – Prepare the Silk: Preparing the silk canvas is a crucial step to ensure optimal results. This involves washing and stretching the silk fabric to help create a smooth and taut surface. Correct preparation not only enhances the silk’s receptivity to dyes but also establishes the ideal foundation for the subsequent artistic layers.
4 – Apply Wax: Introducing wax to the silk surface acts as a barrier, defining the boundaries for the dye and creating distinct sections within the design. The application of wax requires precision and a steady hand, as it serves as a protective layer, preserving specific areas from the absorption of colours in the upcoming stages of the dying process.
5 – Mix Colours: With the design outlined and wax applied, the artist delves into the world of colour mixing. This step demands a keen understanding of the colour wheel and a creative flair for blending hues. Achieving the desired palette is an art form in itself, setting the stage for the vibrancy and depth that will unfold in the subsequent painting steps.
6 – Painting: The canvas is now primed, the colours are mixed, and it’s time to bring the design to life. Painting on silk requires a delicate touch and a controlled hand, as the fabric absorbs the pigments in a unique way. Navigate the silk surface, infusing your creativity into every stroke, capturing the essence of your envisioned masterpiece.
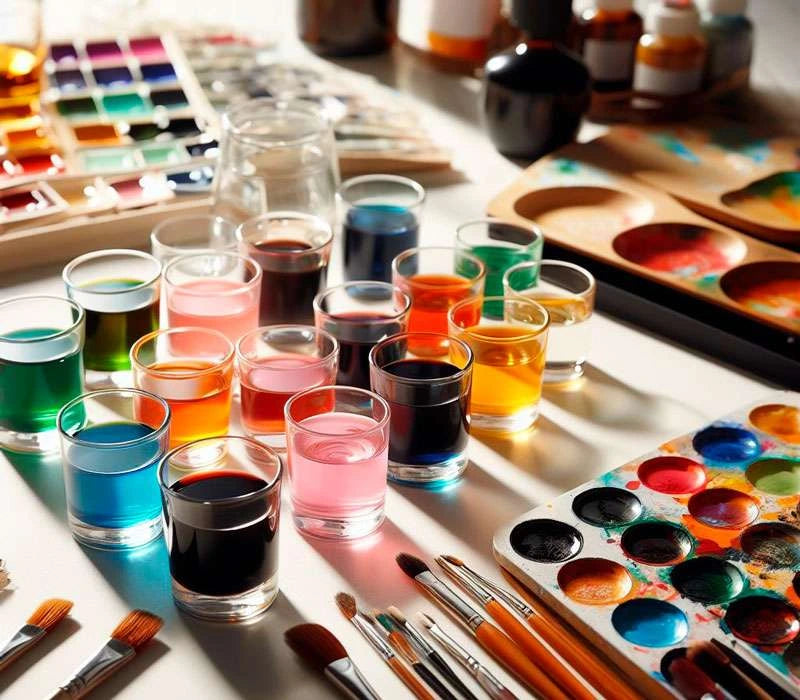
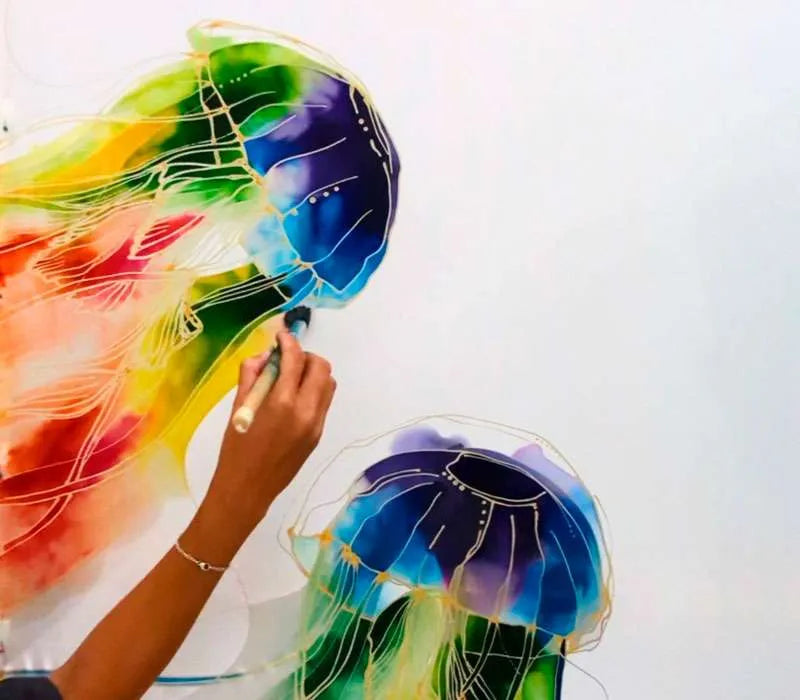
7 – Blending and Layering: Silk painting often involves the intricate technique of blending and layering colours. This step adds depth and dimension to the artwork, creating a visual tapestry that captivates the observer. The artist skillfully navigates the silk canvas, allowing colours to seamlessly merge and form harmonious gradients.
8 – Detail Work: The devil is in the details, and this holds true for silk painting. Fine-tuning the intricate elements of the design requires patience and precision. Focus on adding intricate details, refining contours, and ensuring that each component contributes to the overall visual narrative.
9 – Finishing Touches: As the silk painting nears completion, attention turns to the finishing touches. This includes any final adjustments, corrections, or enhancements needed to perfect the silk masterpiece. The artist steps back to assess the overall composition, ensuring that every element aligns with the initial vision.
10 – Stretch and Mount the Silk: The final step in the silk painting journey involves stretching and mounting the completed artwork. This process ensures the longevity and preservation of the masterpiece. Careful attention is given to achieving equal tension, allowing the silk painting to be presented and admired as a work of art.
